
Tired of store-bought bread filled with preservatives and artificial ingredients? Sourdough bread is a healthier and tastier alternative that you can easily make at home. This step-by-step guide will walk you through the process of making sourdough bread from start to finish.

Ingredients
-
Dry Ingredients:
• 1 cup (250g) all-purpose flour (choose a high-protein variety if possible)
• 1/2 cup (125g) whole-wheat flour -
Wet Ingredients:
• 1 cup (250g) active sourdough starter*
• 1 1/2 cups (375g) lukewarm water (around 75°F/24°C) -
Other:
• 1 tablespoon salt (preferably fine sea salt)
*Your starter should be bubbly and roughly doubled in size. If it isn’t active yet, follow the “Feeding Your Starter” steps below.
Step 1: Preparing Your Sourdough Starter
-
Feeding Your Starter:
- In a clean jar, combine 1/2 cup (125g) all-purpose flour, 1/2 cup (125g) whole-wheat flour, and 1/2 cup (125g) lukewarm water.
- Stir well until smooth.
- Cover loosely (with a lid or cloth) and let it sit at room temperature (around 70-75°F/21-24°C) for 12-18 hours.
- Look for: Bubbles, a tangy aroma, and roughly doubled volume. These signs indicate your starter is active and ready to use.
Step 2: Mixing the Dough
-
Combine Dry Ingredients:
- In a large mixing bowl, sift together the all-purpose and whole-wheat flours.
-
Add the Starter & Wet Ingredients:
- Add 1 cup (250g) of your active sourdough starter.
- Pour in 1 1/2 cups (375g) of lukewarm water.
- Sprinkle in the salt.
-
Mix Thoroughly:
- Stir with a spatula or your hand until all ingredients are just combined. The dough will look shaggy and slightly sticky.
-
Optional Autolyse:
- Cover the bowl and let the mixture rest for 20-30 minutes. This hydrates the flour and jumpstarts gluten development, making the dough easier to work with later.
Step 3: Bulk Fermentation (First Rise)
-
Fermenting:
- Cover the bowl with a clean towel or plastic wrap.
- Place it in a warm, draft-free area (around 75°F/24°C) for 8-12 hours.
-
Stretch & Folds (Optional but Recommended):
- About 4-6 hours into fermentation, with wet hands, gently lift one edge of the dough and fold it toward the center.
- Rotate the bowl 90° and repeat a few times. This helps strengthen the dough.
-
Ready to Proceed:
- The dough is ready when it has nearly doubled in size and is bubbly throughout.
Step 4: Shaping and Final Rise (Proofing)
-
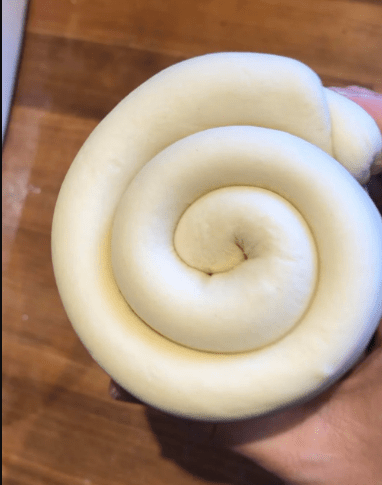
Shaping the Dough:
- Lightly dust your work surface with flour.
- Carefully tip out the dough onto the surface. Avoid over-handling to preserve the air bubbles.
- Gently shape the dough into a round loaf by folding the edges inward, creating tension on the surface.
-
Final Proof:
- Place the shaped dough seam-side up into a well-floured proofing basket (or a bowl lined with a floured kitchen towel).
- Cover with a damp cloth.
- Let it rise for an additional 1-2 hours until the dough looks puffy and slightly expanded.

Step 5: Baking
-
Preheating:
- Preheat your oven to 450°F (230°C).
- If using a Dutch oven or baking stone, preheat it as well.
-
Transferring the Dough:
- Gently invert the dough from the proofing basket onto a piece of parchment paper, or directly onto a greased baking sheet.
- Flip the dough so the seam is on the bottom.
-
Scoring:
- Using a sharp knife, razor blade, or bread lame, make a shallow cut (about 2-3 inches long and 1/4-inch deep) on the top of the dough. This allows the bread to expand during baking.
-
Baking Process:
- Place the dough in the oven.
- If using a Dutch oven: Cover for the first 20 minutes to trap steam, then remove the lid and bake for another 15-20 minutes.
- If baking on a sheet: Bake for 35-40 minutes total.
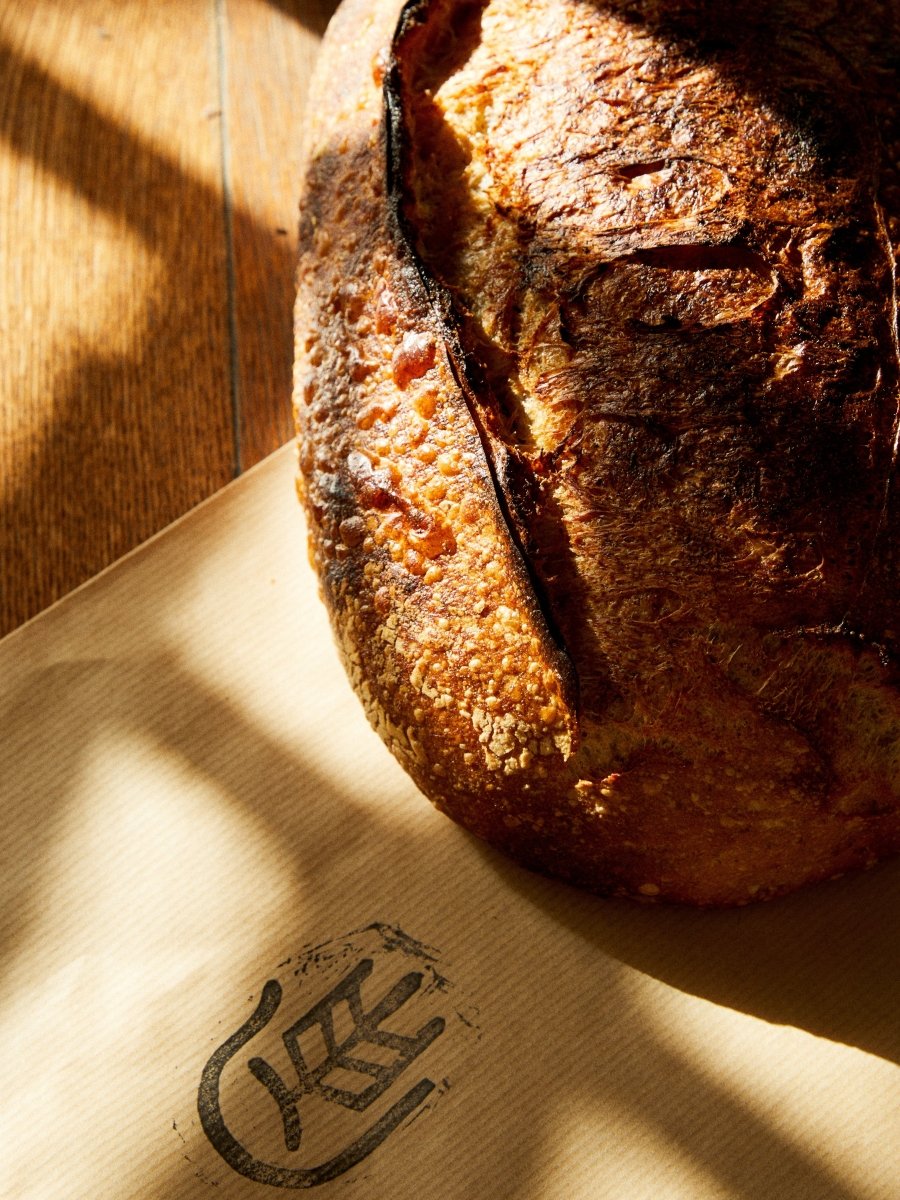
- The bread is done when it is a deep golden brown and the internal temperature reaches approximately 200°F (93°C).
-
Crisping Tip:
- For an extra-crispy crust, slightly crack open the oven door during the last 10 minutes of baking to allow moisture to escape.
Step 6: Cooling and Enjoying
-
Cooling:
- Remove the bread from the oven and place it on a cooling rack.
- Let it cool for at least 10-15 minutes (ideally up to an hour) before slicing. This helps the crumb set and improves the texture.
-
Slicing & Serving:
- Once cooled, slice with a serrated knife.
- Enjoy your homemade sourdough as is or with your favorite toppings!

Additional Tips
- Flour Choice: High-protein or bread flour can improve gluten development and texture.
- Hydration Adjustments: Depending on your local climate and flour type, you might need to adjust water quantities slightly.
- Customization: Feel free to add herbs, seeds, or other mix-ins during the dough mixing stage for a personalized twist.
- Equipment: While a proofing basket is ideal, a bowl lined with a well-floured towel works just as well if you don’t have one.
- If you don't have a sourdough starter, you can purchase one online here
Share on socials:
How to Make the Perfect Pizza Dough with Sourdough
2 comments
Hej med jer.
Jeg følger opskriften men når jeg skal til at lave det føste fold. Knækker dejen i stykker. Den er også meget våd. Jeg kan ikke lige finde ud af hvad jeg gør forkert.
Hilsen Martin
Hvordan får jeg skorpen tyndere men stadig sprød? Jeg synes skorpen er ret tyk – måske gir jeg det for høj varme?
Mange hilsner
Anne